
3D Printing an Ant Nest: What to Know Before You Start
- Jun 5
- 3 min read
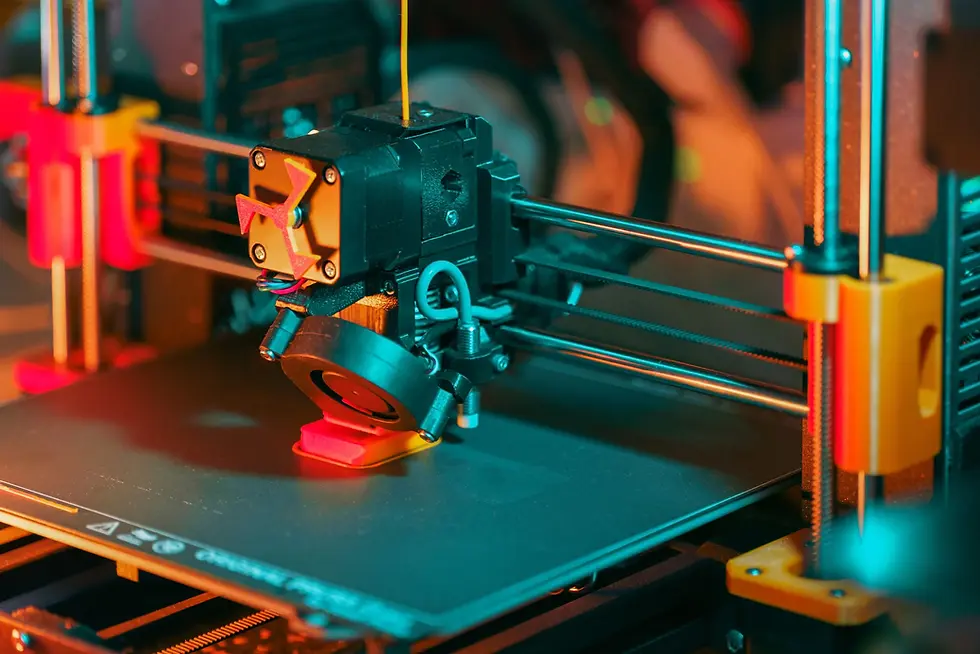
There is a growing corner of the ant keeping hobby dedicated to 3D printing custom nests. The appeal is obvious: full control over design, the ability to customize for specific species, and the satisfaction of building something yourself. If you have spent any time on ant keeping forums or subreddits, you have probably seen a few impressive examples.
What you see less often are the failed prints, the colonies that refused to move in, and the setups that had to be scrapped entirely. Here is a more honest look at what 3D printing ant nests actually involves.
Material Safety Is the First Hurdle
Most hobbyists start with whatever filament they already have at home. That is usually where the first problem shows up. Not all 3D printing materials are safe for ants. Some filaments release fumes during printing that leave residues on the finished product. Others contain additives that can affect ants over time, especially in a closed, humid environment where ants have prolonged contact with surfaces.
Figuring out which materials are genuinely safe requires real research, not just a quick search online. The ant keeping community has debated this for years and there is still no single agreed-upon answer. Some keepers swear by specific materials; others have had bad experiences with the exact same ones.
Design Is Harder Than It Looks
Looking at a nest from the outside, it seems like a series of chambers and tunnels. In practice, the design has to account for a lot more. Chamber dimensions vary significantly depending on the species you are keeping. Humidity retention, ventilation, and the ability to maintain a natural moisture gradient all matter. A nest that works for one species may be completely wrong for another.
Most first designs need multiple rounds of revision. Each failed print costs time and filament, and testing properly takes weeks, since you need to observe how a colony actually settles in and behaves over time. There is no shortcut to that feedback loop.
The Time and Cost Add Up
A 3D printer capable of the precision ant nests require is not cheap. Add filament costs, the time spent designing or adapting files, and the inevitable failed prints, and the economics start to look different from what most people expect. There is also a real skill component: designing for ant nests is specific enough that general beginner tutorials will not get you far.
For keepers who already own a printer and use it regularly for other projects, the math may still work out. For someone buying a printer specifically for ant nests, it rarely does.
What a Well-Made Nest Actually Needs
At Esthetic Ants, we make 3D printed nests and have spent a lot of time working through exactly these challenges. Every design goes through real testing before it reaches the shop. The materials are chosen for long-term safety, the chamber dimensions are matched to species requirements, and the internal structure is built around what ants actually need in a home.
If you are still setting up your enclosure, our guide on setting up an outworld is a good place to start. And if you want to understand what separates a good nest from a poor one, take a look at our Ytong formicarium collection post for context on what thoughtful design looks like.
If you want to skip the trial and error entirely and just focus on keeping ants, our nests are available in the shop. Every design has already been through the hard part.


Comments